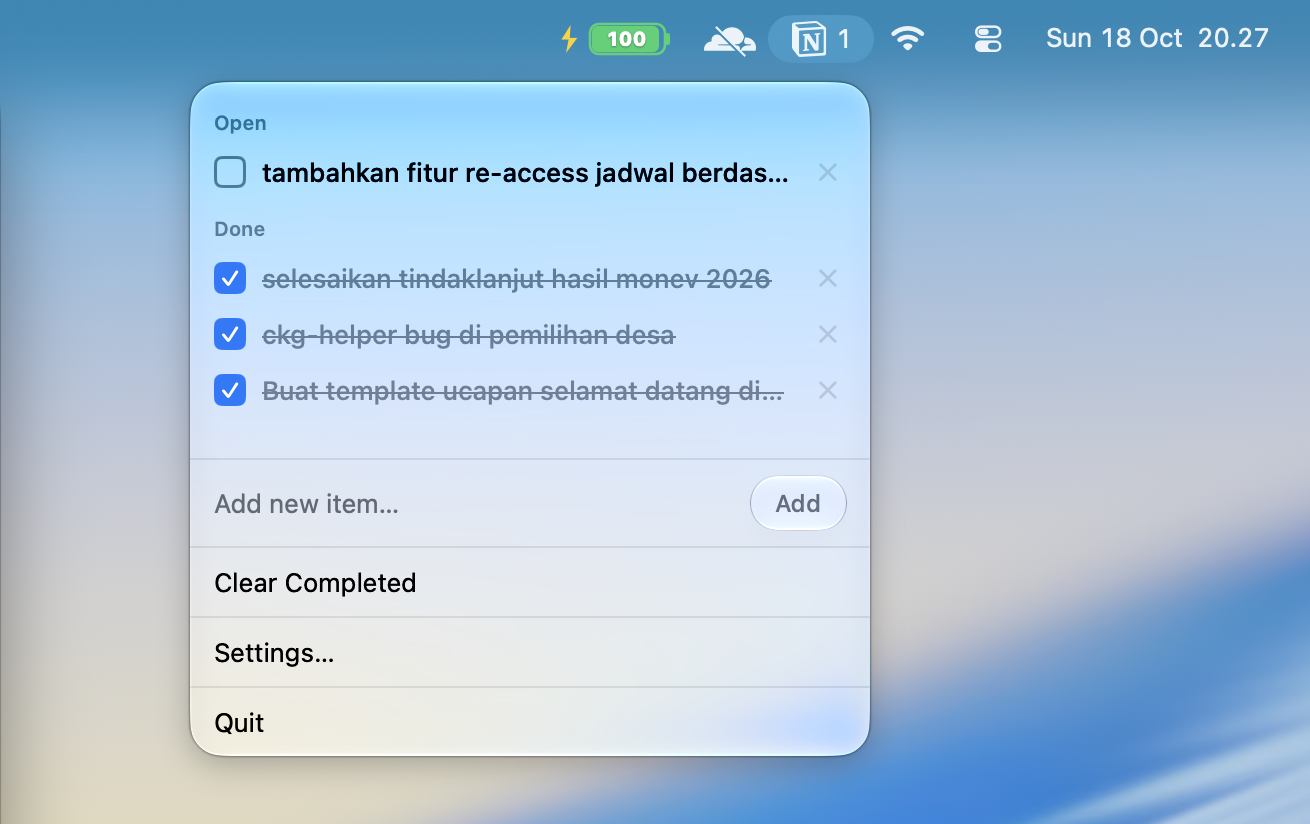
NotionTodo (menu bar)
A small macOS menu bar app that keeps your todo list in sync with one Notion page.
It reads and writes to-do checkboxes on that page.
- Requires macOS 14.6+.
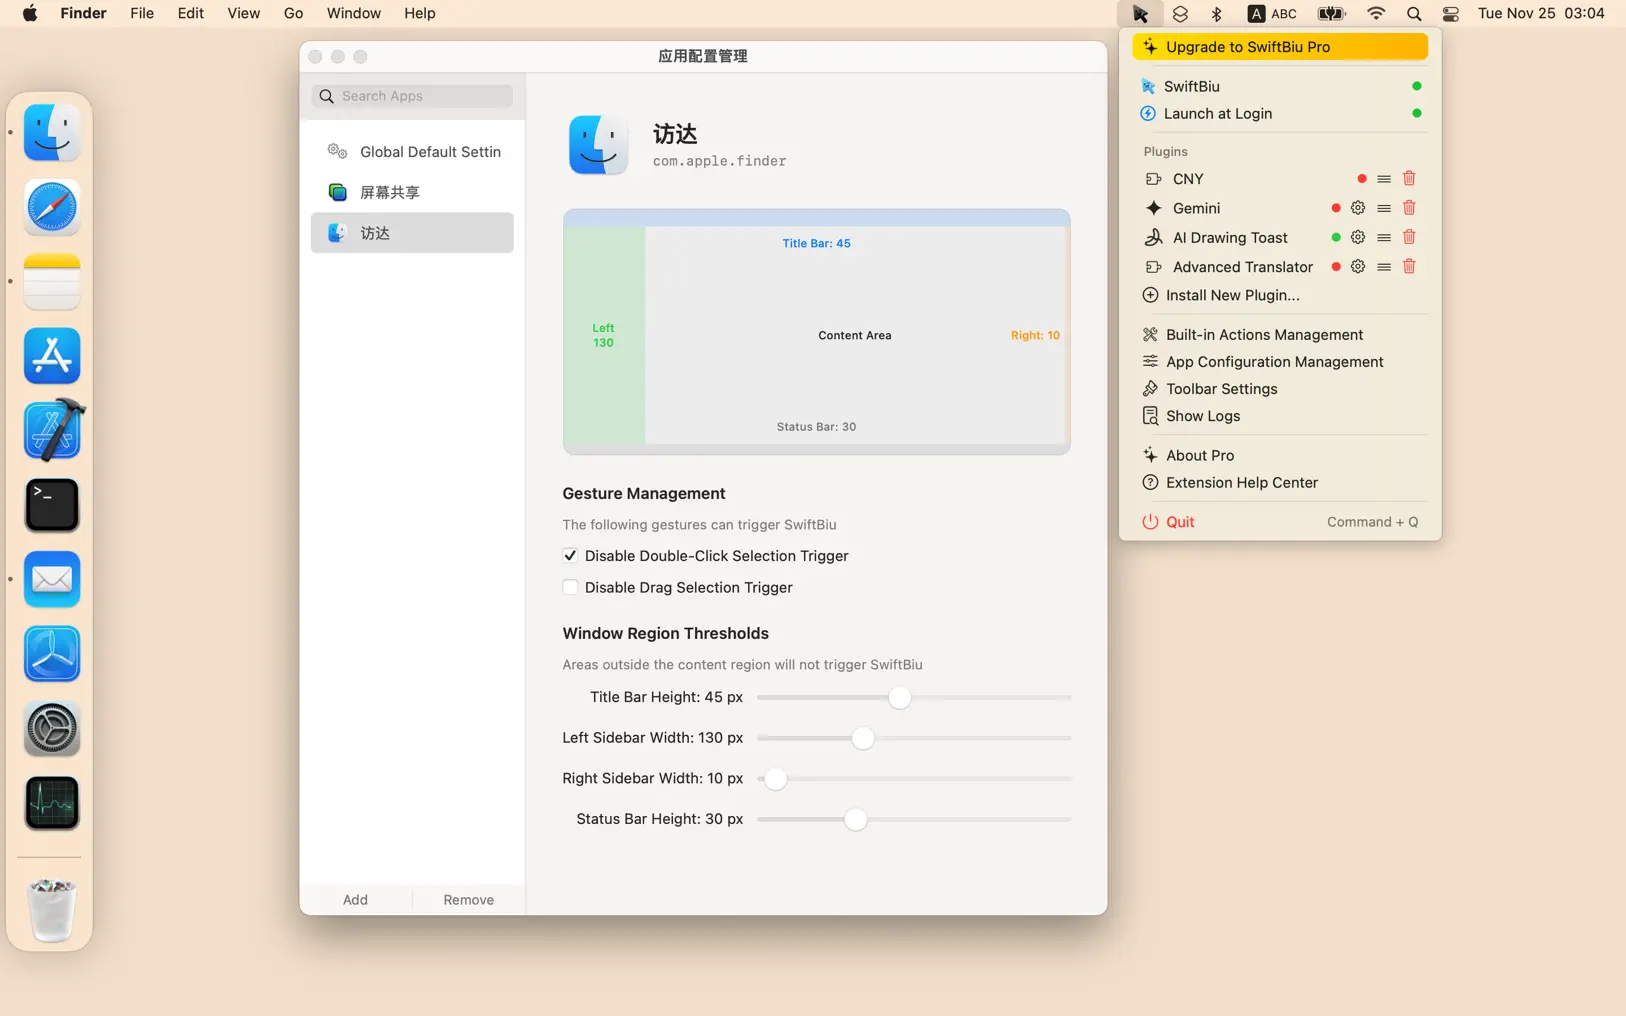
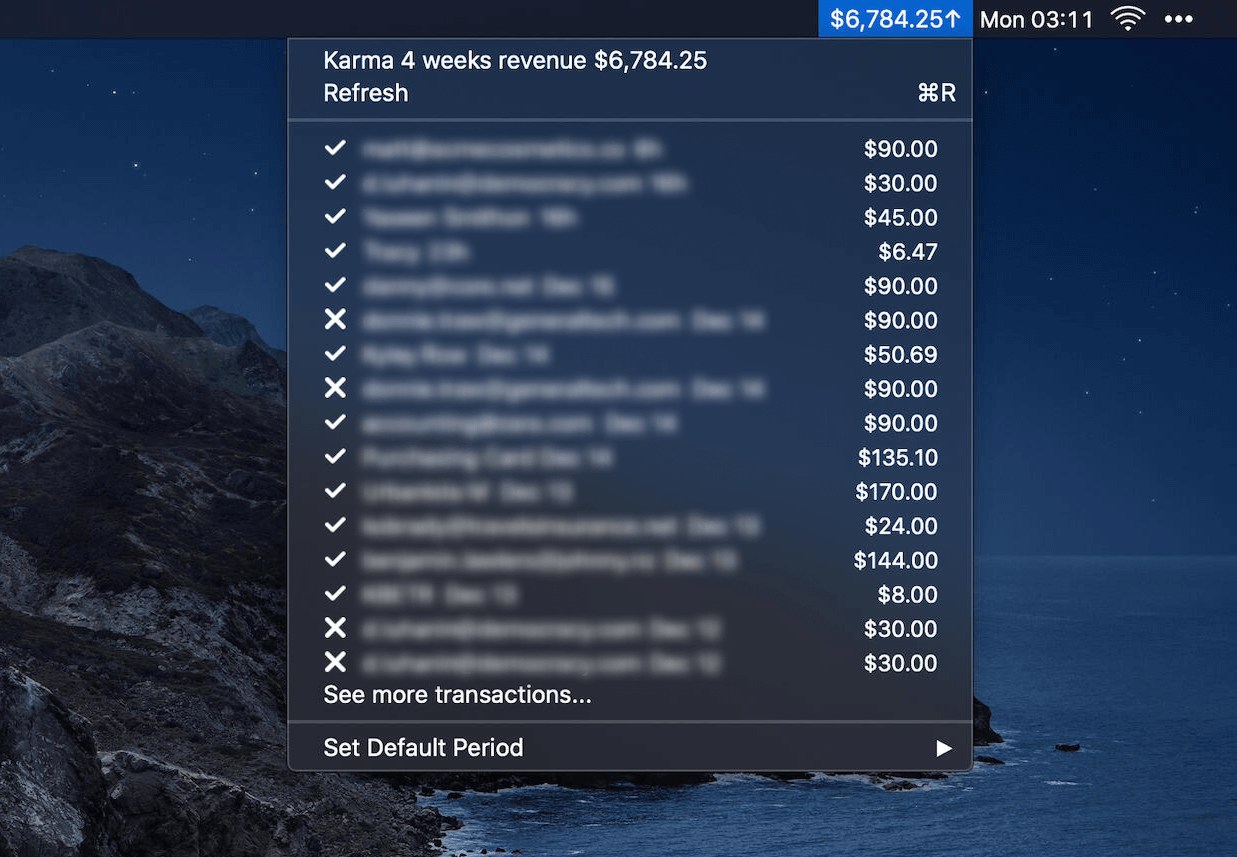
- No Dock icon — the app lives in the menu bar (top-right of the screen).
- Interface language: English and Indonesian (follows your macOS language).
1. Install
- Open Notion Todo-1.0.dmg.
- Drag Notion todo.app into the Applications folder.
- Eject the DMG, then open the app from Applications.
First launch: "App is from an unidentified developer"
This is normal. The app is signed only for your own Mac, so macOS does not know it. Allow it once:
- Try to open the app. macOS shows a warning and does not open it. Close the warning.
- Go to System Settings → Privacy & Security.
- Scroll down to the Security section.
- Click Open Anyway.
- Confirm with your password or Touch ID, then open the app again.
You only do this once. After that, the app opens normally.
If a new version shows the same warning, repeat these steps.
2. Connect to Notion (one-time setup)
You need two things: an integration token and your page URL.
Step 1 — Create the integration
- Open https://www.notion.so/my-integrations in your browser (log in first).
- Click New integration.
- Name it (for example:
NotionTodo), pick your workspace, and click Save. - On the Configuration tab, copy the Internal Integration Secret (starts with
ntn_orsecret_). This is your token. Keep it private.
Step 2 — Connect your page
- Open the Notion page where you keep your todos.
- Click the ⋯ (three dots) menu at the top-right of the page.
- Click Connections → +.
- Search for the integration you just created and select it.
Without this step the app cannot read the page (you will get a "Page not found" error).
Step 3 — Paste both into the app
- Click the Notion icon in the menu bar (top-right of the screen).
- The settings screen opens automatically the first time.
- Paste the token into the first field.
- Paste the page URL (or the 32-character page ID) into the second field.
- Click Save.
Your todos appear. Done!
The token is stored in the macOS Keychain, the page ID in UserDefaults.
3. How sync works
- The app checks Notion every 30 seconds and when you open the popup. It is not real-time.
- Checking, renaming, and deleting are optimistic (the UI updates instantly) and roll back if the request fails.
- Only top-level to-do blocks on the page are used. Text, headings, and other blocks are ignored.
- Sub-todos (indented to-dos) are not supported yet.
- New todos are added at the end of the page.
- "Clear Completed" deletes all checked todos on the page.
4. Build from source (for developers)
Requirements: Xcode 16+ (project was made with Xcode 26), macOS 14.6+.
- Open
Notion todo.xcodeprojin Xcode. - Check two settings on the target:
- Info tab:
Application is agent (UIElement)=YES(this hides the app from the Dock). - Signing & Capabilities: if App Sandbox is on, enable Outgoing Connections (Client) — without it every Notion request fails. "Sign to Run Locally" is enough for personal use.
- Info tab:
- Run (⌘R). The Notion icon appears in the menu bar.
Creating a new project from scratch instead? Make a macOS → App project (SwiftUI, Swift), replace the generated views with the
.swiftfiles from this folder, then apply the two settings above.
Make a DMG
xcodebuild -project "Notion todo.xcodeproj" -scheme "Notion todo" -configuration Release build
# then copy the .app from DerivedData into a folder with an Applications symlink and run:
hdiutil create -volname "Notion Todo" -srcfolder <folder> -ov -format UDZO "Notion Todo-1.0.dmg"
Localization
All UI strings live in Localizable.xcstrings (English = source, Indonesian = id).
To add a string, use a literal in Text/Button or String(localized: "...") —
Xcode adds the key to the catalog automatically.
5. Privacy
- The token never leaves your Mac except to call the Notion API.
- There is no analytics, no server, no account.